Installation & Setup
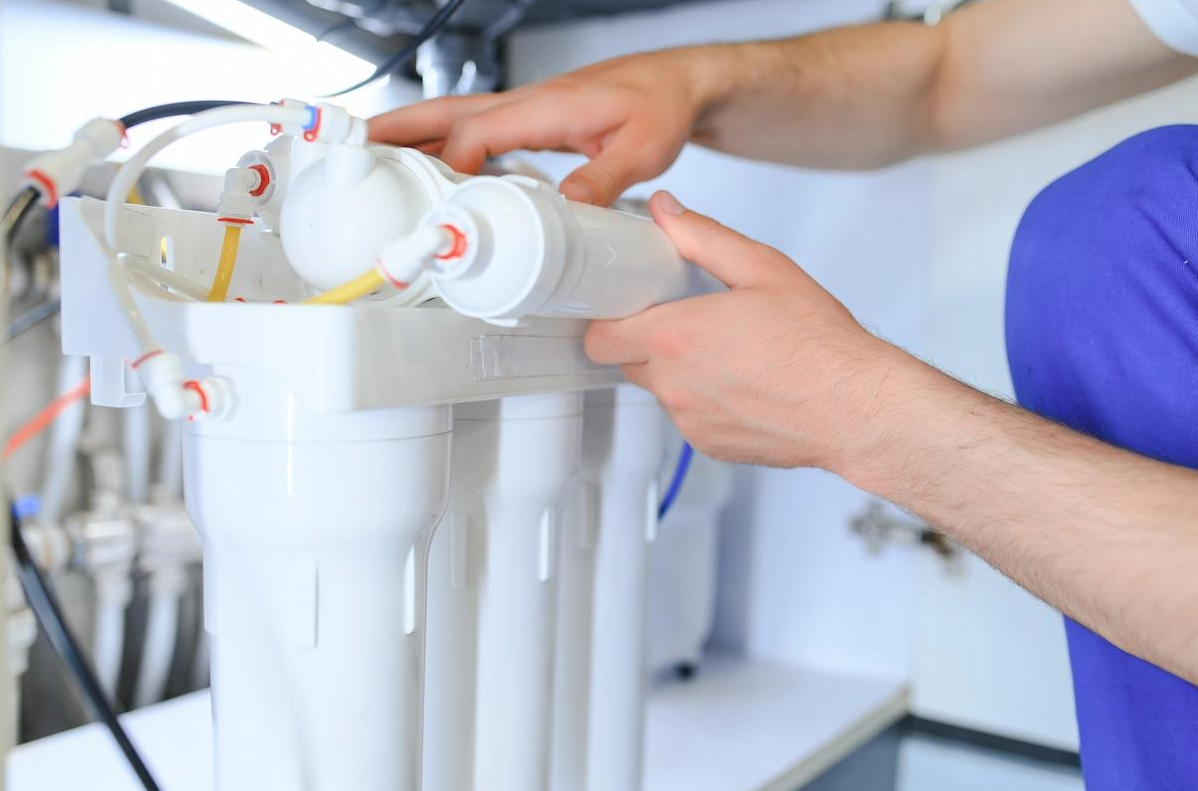
Reverse osmosis systems are designed for straightforward installation under a standard kitchen sink, with minimal modification to existing plumbing.
The system connects to the cold water supply via a feed valve, allowing controlled inlet pressure (typically 2–6 bar). Pre-filtration stages remove sediment and chlorine before water reaches the RO membrane, which operates most efficiently within a pressure range of 3–5 bar.
A dedicated faucet is installed on the sink or countertop to separate purified water from regular tap water. The system also includes a pressurized storage tank, ensuring stable flow and immediate availability.
Wastewater (concentrate) is discharged through a drain saddle connection. Typical recovery ratio ranges between 1:1 and 1:3 depending on membrane type and pressure conditions.
🔧 Key Installation Components
- Feed water valve – connects system to cold water line
- Pre-filters (sediment + carbon) – protect membrane from clogging and chlorine damage
- RO membrane housing – core filtration unit (0.0001 micron)
- Storage tank – maintains pressure and flow stability
- Dedicated faucet – separate outlet for purified water
- Drain connection – removes rejected contaminants
⚙️ Setup & Operation
After installation, the system must be flushed to remove preservatives from filters and stabilize performance. Initial flushing typically requires 2–3 full tank cycles.
Operating parameters to monitor:
- Inlet pressure: 2–6 bar
- Temperature: 5–35 °C
- TDS reduction rate: up to 95–99%
- Flow rate: dependent on membrane capacity (e.g. 50–100 GPD)
🔍 Maintenance Considerations
Proper installation ensures long-term efficiency and reduces maintenance frequency. Pre-filters should be replaced every 12 months, while the RO membrane typically lasts 2–4 years depending on water quality and usage.