Filter Replacement Guide
Replacing filters in a reverse osmosis system is a straightforward maintenance task that does not require professional tools or technical expertise.
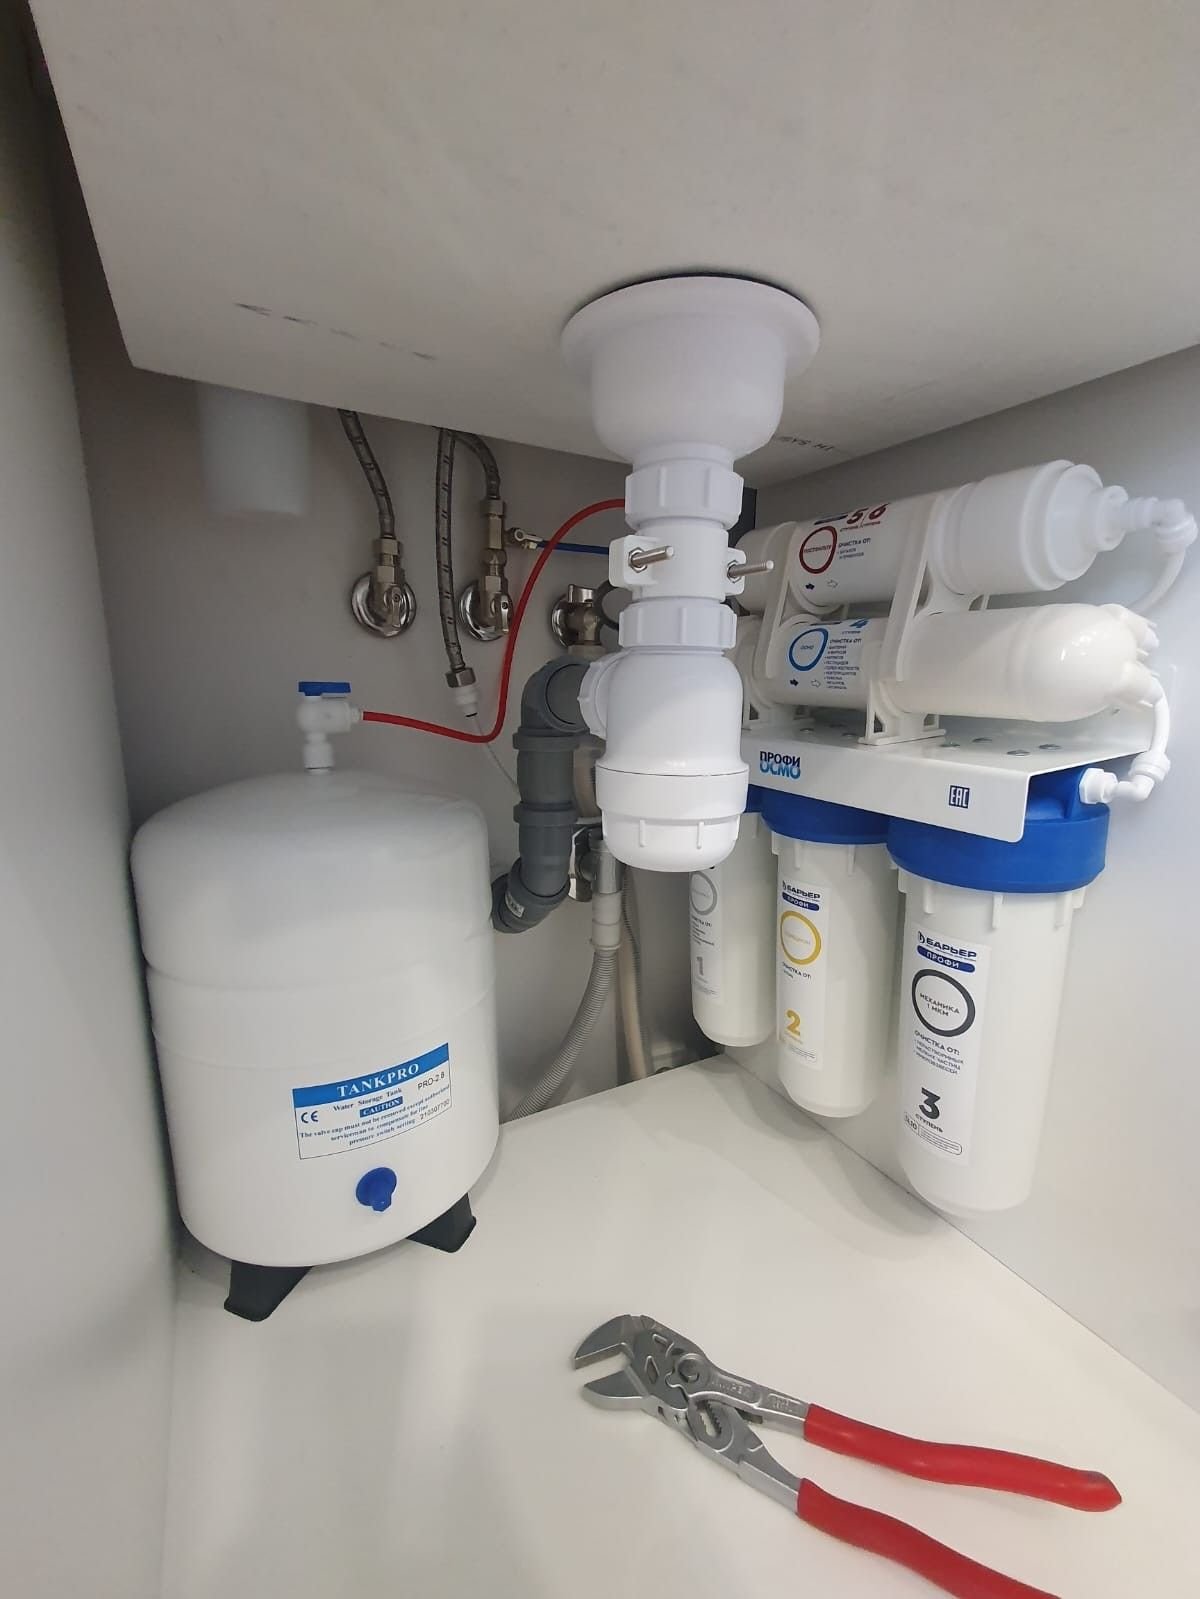
Most systems are designed with standard 10” filter housings or quick-connect cartridges, allowing fast and safe replacement in just a few steps.
⚙️ Filter Types & Intervals
Typical RO systems use multiple stages:
- Sediment filter (5–1 micron)
Removes particles such as sand, rust, and debris
→ Replace every 6–12 months - Carbon filter (GAC / CTO)
Removes chlorine and organic compounds
→ Replace every 6–12 months - RO membrane (0.0001 micron)
Removes dissolved solids and contaminants
→ Replace every 2–3 years - Post-carbon filter
Improves taste and final polishing
→ Replace every 6–12 months
Replacement intervals depend on water quality and usage.
🔧 Replacement Procedure
- Shut off the water supply
- Release system pressure by opening the faucet
- Unscrew the filter housing or disconnect cartridge
- Replace the filter with a new one
- Reassemble and check all connections
- Flush the system (1–2 tank cycles recommended)
No special tools are required beyond a standard housing wrench (often included).
⚙️ Operating Conditions
- Inlet pressure: 2–6 bar
- Temperature range: 5–35 °C
- Typical flow rate: depends on membrane capacity (e.g. 50–100 GPD)
Maintaining proper conditions ensures longer filter lifespan and consistent performance.
🔍 Important Notes
- Always replace filters in the correct order
- Do not overtighten housings (hand-tight + slight adjustment)
- Check O-rings and lubricate if necessary
- Flush new filters before regular use
💧 Practical Reality
Filter replacement is not a complex technical task.
If you can handle basic tools and follow simple steps, you can maintain your system without any service technician.